

Foil and Spot UV Bubbling: Why It Happens
Foil, spot UV and embossing all add height to the label surface. That step becomes a bubble at application, and the fix sits in adhesive and design.
The artwork gets foil stamping and spot UV, the proof looks expensive, and production arrives with rings of bubbles around every foil element. The cause is the layer of height those finishes add to the label face.
How much height a finish adds
Foil stamping transfers a metallic layer under heat and pressure, and the finished foil commonly measures 3 to 8 microns. Spot UV is applied with an anilox roller and cures to a film of 2 to 5 microns, with heavy builds reaching 10 or more. Embossing is the largest step, with relief depth usually between 20 and 60 microns. On a flat sheet this reads as texture. At the applicator it becomes a staircase.
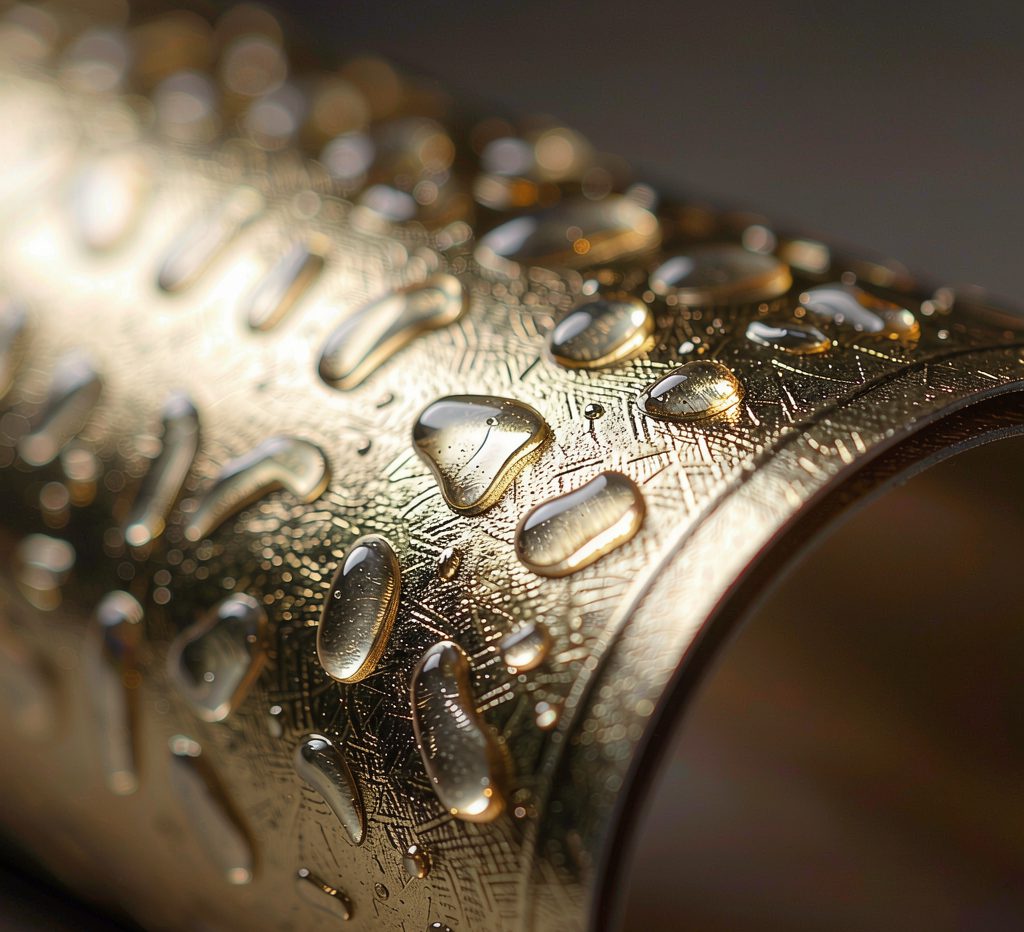
Where the bubbles come from
Adhesive has to fill that step before it can bond to the bottle. Over foil and UV areas the raised surface squeezes the adhesive layer thinner, and when the roller passes, pressure concentrates on the peaks while the valleys receive too little. Air trapped between them has nowhere to go and stays as a bubble. The result is a fine ring of bubbles outlining each foil character, a bulge in the middle of a large UV block, and a hazy finish across an embossed label.
Curved bottles make it worse. The label has to bend, the raised areas are stretched during the bend, the adhesive thins further, and wherever it runs out the edge lifts.
Three directions that work
Add adhesive first. Raising coat weight by 20 to 30 percent gives the layer enough material to fill the step, and a soft, high tack adhesive flows into the relief better than a hard one. This is the most direct fix, at the cost of higher material use and a greater risk of squeeze out, which means a wider unprinted border at the die line.
Adjust the process second. Slow the line so the roller has longer contact, raise roller pressure, or fit a softer roller so pressure spreads more evenly. Move the application position away from the foil area if the bottle allows, so the heavy finish lands on a flatter part of the surface.
Change the design third. Replace a large solid foil block with fine lines or a screen pattern to cut the raised area. Pull spot UV back from the trim by at least 3 millimetres so edges cannot lift. On small curved bottles, drop heavy finishing altogether and use a metallic screen ink, which looks close and adds almost no thickness.
When to abandon the finish
Bottle diameter under 30 millimetres, a label that wraps the whole circumference, and a large finished area all at once leaves no process that saves it. In that combination the practical answer is to remove the finishing and let print colour and stock carry the look. On flat surfaces and large cylinders, more adhesive and more pressure usually settles it.
Always sample with the applicator in the loop. A flat proof cannot show bubbles. Run fifty pieces on the real bottle at the real line speed before approving.
Workshop temperature matters too. Adhesive stiffens in the cold, flows less and fills the step poorly, which is why the same process draws more bubble complaints in winter than in summer. Holding the labelling station at 18 degrees Celsius or above cuts the rate noticeably. If bubbles persist at that temperature, the seat of the problem is the adhesive layer rather than the room, and the label has to change.
Check the room temperature before ordering a new adhesive. It is the cheapest test in this whole list.