

Hand Labelling Looks Simple, and Five Habits Ruin It
Manual application fails too, and more quietly. Peel angle, alignment reference, press direction, surface cleaning and edge burnishing decide the yield.
At low volumes, hand labelling looks like the easy option. In practice the reject rate is often higher than on a machine, because every action depends on feel, and feel drifts with fatigue. Five habits account for most of it.
First: the peel angle
Most people pull the label upward off the liner, bending it into a U. That single bend stresses both face stock and adhesive, the edge curls slightly, and the curled edge is where lifting starts. Lay the liner on the bench and lift the label almost parallel to it, keeping the angle under 30 degrees. A label that leaves the liner flat does not curl.
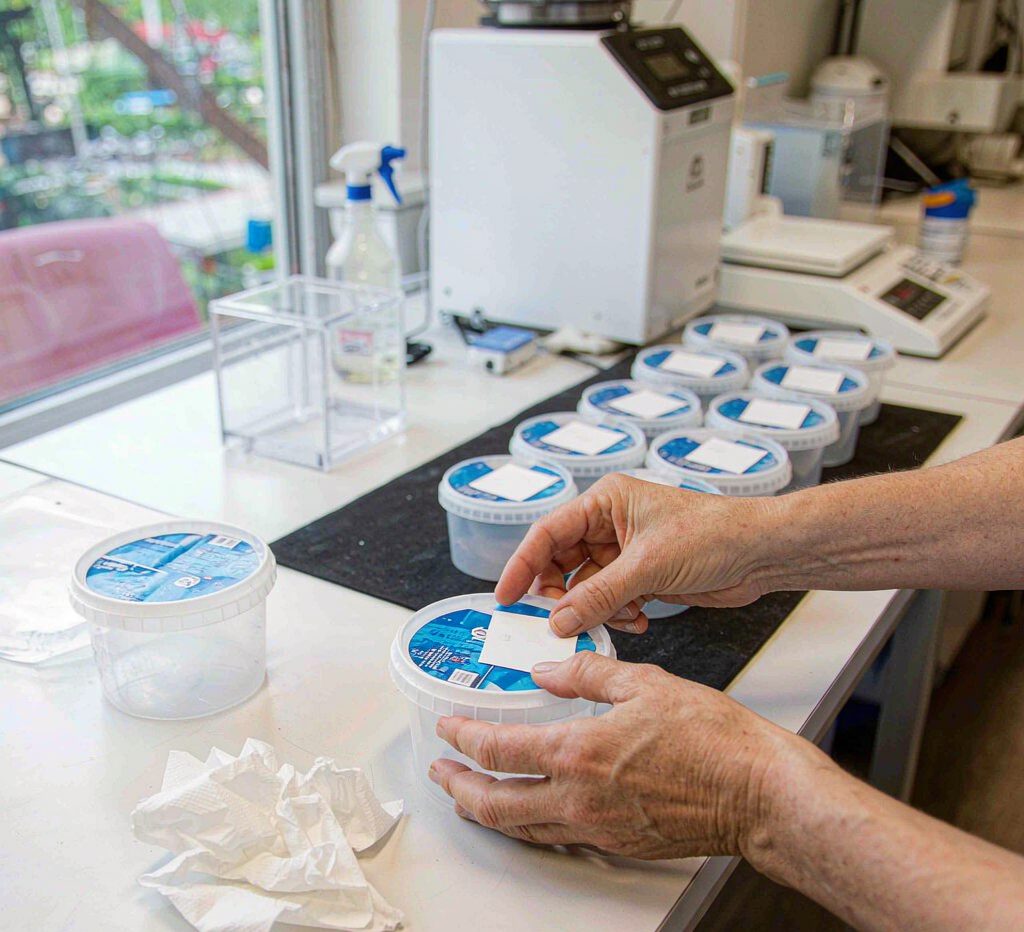
Second: the alignment reference
Eyeballing is the least reliable method available. Human vision is good at horizontal, poor at vertical and centring, and a millimetre or two of skew is invisible to the person doing it. Find a feature on the container instead: a mould seam, the shoulder transition, a recess intended for the label. Place the label edge against that line. Where no feature exists, a simple locating jig costs very little and holds deviation under half a millimetre.
Third: the press direction
The instinct is to press from the middle outward, which feels secure. It traps air under the label and leaves a bubble. Work from one end toward the other instead, driving air ahead of the hand, then finish on the edges. Long labels make this mandatory; pressing all at once always leaves air behind.
Fourth: surface cleaning
Mould release agent, dust and hand grease all defeat adhesive. Wipe with isopropyl alcohol and let it dry completely. Apply while the surface is still wet and the solvent gets sealed under the label, evaporates over the following days and lifts it. This matters most in summer, when hand perspiration and condensation add to the problem.
Fifth: edge burnishing
A single pass with the palm is not enough. The outer few millimetres carry the least adhesive and take the most stress. Run a finger or a small squeegee around the perimeter, two to three seconds at each point, so the adhesive wets out properly. Five seconds of extra work per label measurably reduces later lifting.
Manage fatigue as well
Manual labelling degrades through the day. A 98 percent pass rate in the morning can fall to 90 by mid afternoon, because repetition erodes attention, pressing gets lighter and alignment gets looser. Inspect ten finished units every hour, measure deviation and check for bubbles, and stop to correct the moment the numbers move. Written records of those checks show the drift before it becomes a batch problem.
Finally, put the standard on the wall in numbers: maximum deviation in millimetres, maximum bubble diameter, maximum lifted edge. Without numbers, operators work on feel, and feel cannot be reproduced by the next shift.
One more step after applying
Do not pack labelled units straight away. Lay them flat for two hours so the adhesive wets out properly, then stand them up for packing. Stacking immediately puts the weight of the pile onto labels whose bond has not developed yet, and on flexible packaging it leaves press marks that never come out. Wear gloves as well: bare hands leave oil on the label border, and an edge that is not tacky lifts within days.
Record the standard in numbers rather than adjectives, because adjectives cannot be audited and shift handover cannot argue with a millimetre.