

Clear Labels on Clear Bottles: Where the Haze Comes From
A no-label look fails on the first sample. The bottle goes grey and a fine mist of bubbles appears. Work out whether it is the material or the application.
A clear bottle with a clear label is meant to look like the graphics were printed straight onto the glass. In practice the first samples rarely do. Look through the film and the bottle has gone grey, with a fine scatter of bubbles underneath.
The haze can come from the face stock
Clear film is not perfectly clear. PET has an inherent haze, and cheaper, thicker or filled grades have more of it, which reads as a milky layer when you look through. Ask the supplier for the haze figure; lower is clearer, and the spread between products at the same price can be an order of magnitude.
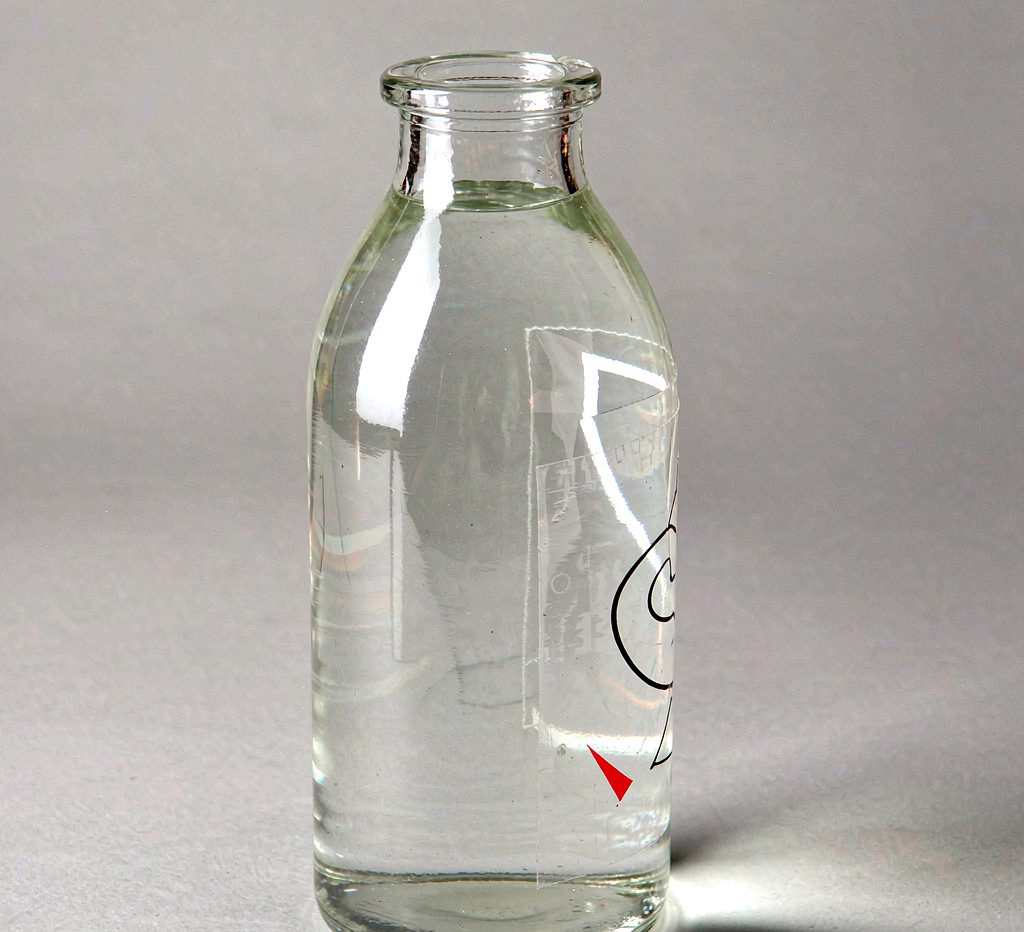
The back of the face stock may also carry a coating. Some products get a treatment to improve printability, and that coating brings its own slight haze. It is rarely listed on a data sheet, so the only reliable test is a real bottle.
It can also come from the adhesive
More often the adhesive has not fully wet out. Clear labels usually use acrylic adhesives, and the layer looks flat while micro-gaps remain between it and the bottle. Light scatters in those gaps, and the eye reads haze.
Full contact takes time. Adhesive has to flow, and a label that looks misty straight off the line and clears over two days is doing exactly that. Ship immediately and the customer opens the carton while the haze is still there.
Light application pressure leaves haze too. Pressing a label down with a fingertip gives uneven force: solid in the middle, loose at the edges, which shows as a pale rim in transmitted light. A squeegee or roller worked from the center outward pushes the air ahead of it and the difference is immediate.
The bottle is part of it
Blow molded bottles can carry mold release residue or fine surface waviness that stops the adhesive from contacting. Necks with tight curvature spring back after a stiff label is pressed on, and the edge hazes first, then bubbles.
Fill temperature matters as well. Label a bottle that is still warm from filling and the wall is still expanding; as it cools and contracts, the adhesive layer is stretched and haze and bubbles appear together. Letting bottles come to room temperature before labeling can halve the reject rate.
One more source: white ink
Clear labels are usually printed over a white base coat, otherwise the colors read dark against whatever is behind them. If that white goes down thin or uneven, transmitted light shows a mottled patch that looks like haze but is not. That belongs to the printing step, and no change of face stock or adhesive will fix it; the ink volume has to be reset on press.
How to isolate it
First decide whether it is material or handling. Label ten bottles from one roll: if eight are clear and two are hazy, it is handling. If every one is hazy, look at the material.
On the material side, a low haze PET face stock with a high clarity adhesive is the direct route. Do not judge from a swatch book, which is printed on white and hides haze completely. Put a real sample on your own bottle and look again after forty-eight hours.
On the handling side, three things matter most: more roller pressure so the adhesive makes full contact, a rest period before packing, and a clean bottle, since release agent and dust both block wetting.
For clear bottle customers, Huaishi sends samples already applied to the customer's own bottle type, so they can sit one day on the filling line and one at room temperature before deciding. It avoids the usual mismatch between the swatch and the real thing.