

Blistering Labels on Brushed Stainless: Wipe or Switch Adhesive?
Brushed stainless carries drawing wax and rust preventive that keep adhesive from wetting out. A five-step teardown of a returned flange batch, one surface table, and the fix that did not involve changing adhesive.
Two hundred traceability labels went out on stainless flanges last winter and sixty came back blistered, all of them in the middle with the edges still down. The customer's first line was that our adhesive was no good. Three rounds of testing later the cause was drawing wax. We kept the adhesive and spent almost nothing.
Where the blister sits
There are two shapes and the position tells you which one you have.
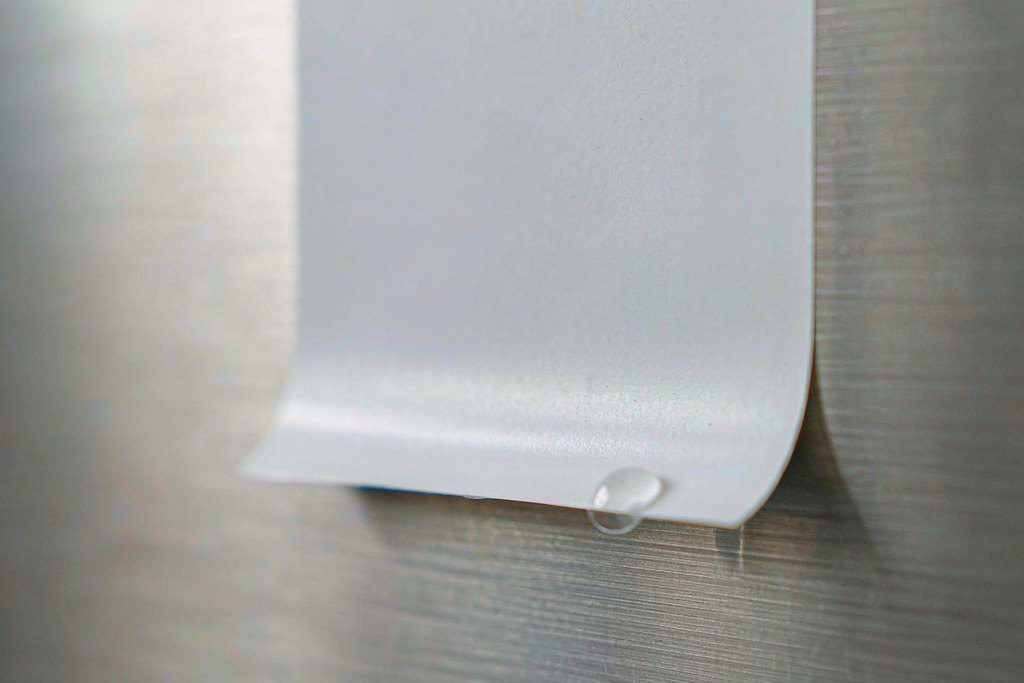
Blistered in the middle, edges flat. The edge has sealed, so something inside cannot get out. Either air was trapped during application or a volatile residue on the surface is pushing up.
Lifted at the edge, middle flat. That is insufficient initial tack, or a face material fighting back. Curved surfaces and narrow edges show it first.
Everything that came back was the first shape. Small domes two to four millimetres across, which moved when pressed and returned the next day. That shape rules out weak adhesive. Something is caught at the interface.
Step 1: run a pair of controls
Take flanges from the same batch. Apply ten labels as they were applied on the line, and ten more after wiping twice with anhydrous ethanol. Leave both sets at room temperature for 48 hours.
One of the wiped ten blistered. Seven of the unwiped ten did. Half an hour of work put the fault on the surface, without guessing about adhesive or face stock.
Brushed stainless is not a smooth surface. The finish is a continuous pattern cut by abrasive belt or wheel, and the valleys hold drawing wax, rust preventive and polishing compound. Nobody cleans it at the mill. A good deal of it arrives with an oil film on it.
An oil film drops surface energy to the low twenties in mN/m. A pressure-sensitive adhesive needs to wet out above roughly 34 mN/m before it can spread and anchor.
Step 2: measure the surface
You do not need a lab. Start a dyne pen at 30, draw a line, and if it holds without beading for two seconds you have reached that level. Most incoming brushed parts sit between 30 and 32. After wiping they reach 36 or more.
A dyne pen costs less than a returned shipment. Three pens, at 30, 34 and 38, cover the range.
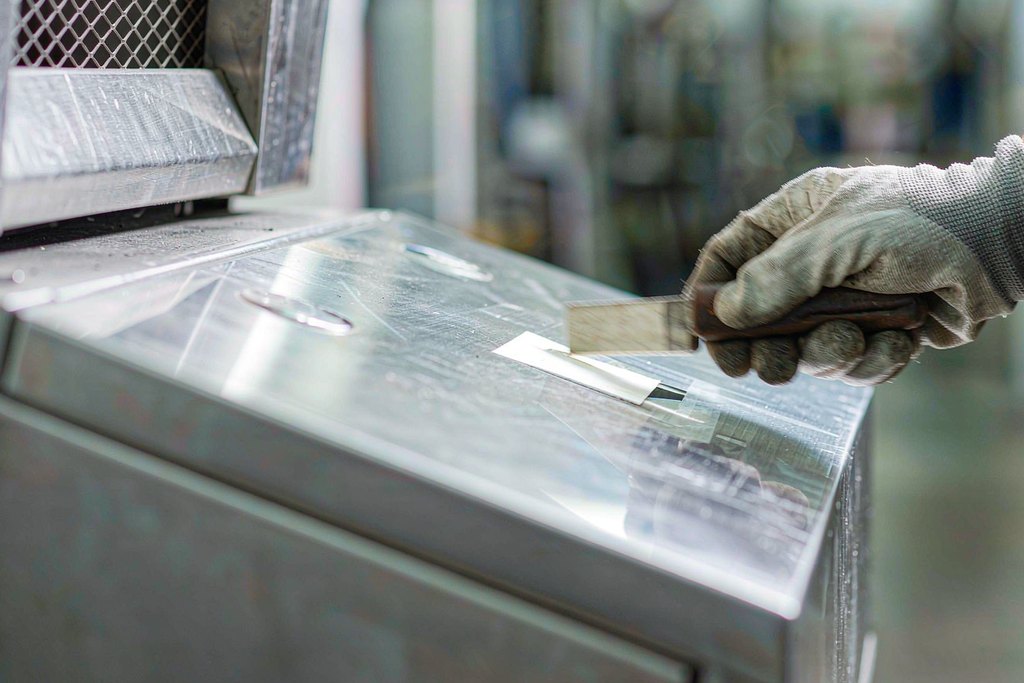
One direction only, with the force on the grain, and the air moves out
Step 3: watch the application stroke
Same material, same adhesive, different stroke, very different result.
Hand application usually means one pass with the palm, which concentrates force under the heel and leaves the middle unpressed. Machine application usually means too little roller pressure, or line speed above 30 m/min, so air has no time to be driven out.
Push from one end to the other in a single direction, or run a roller from the centre outwards. If bubbles remain after that, the surface or the adhesive is at fault and the operator is not.
Step 4: the face stock pushes back
| Face material | Behaviour on brushed stainless | Where it fits |
|---|---|---|
| Coated paper | Conforms, the grain presses in, but takes up moisture and cockles | Indoor nameplates, shelf marking |
| White PET | Stiff, does not follow the grain, lifts at corners, dimensionally stable | Outdoor and wash-down marking |
| Matte silver PET | Low glare, close to the metal finish, same stiffness as PET | Appliance panels, metal housings |
| Synthetic paper | Between paper and film, tear resistant, thicker | Handwritten or abuse-prone work |
The returned batch used coated paper. Paper expands and contracts with humidity, and the part pressed into the brushed grain cannot move, so the middle arches. Our shop floor sat at 65% RH and the customer's warehouse at 35%. That gap alone was enough.
Step 5: match the adhesive to the surface
Acrylic emulsion wets out slowly on low-energy metal and builds tack slowly. It looks secure on day one and the corners are up by day three. Rubber-based adhesive grabs faster and tolerates a little oil, at the cost of temperature range.
Most stainless parts go through washing or drying at 80 C or above. For those, ask the supplier for data at the actual process temperature rather than the room-temperature tack on the datasheet.
How this batch was closed out
No adhesive change. Three fixes:
One, a wiping station at goods-in. Isopropyl alcohol or anhydrous ethanol, two passes with a non-woven wiper, 30 seconds to flash off. One operator handles two to three hundred parts an hour.
Two, a squeegee at the application bench. A 40 mm plastic blade, pushed one way, force on the grain.
Three, coated paper replaced with matte silver PET. These were outdoor parts and should have been film from the start.
Together the rework rate fell from about thirty percent to under two. That figure comes from our own batches. Other plants will see different numbers, so treat it as an indication only.
Four things to stop it recurring
Measure at goods-in. Adhesive only holds by wetting out, so a dyne pen at 34 is the gate. Below that, wipe.
Use the right solvent. Ethanol or isopropyl alcohol. Avoid thinners such as banana oil, which strip the passivation layer and invite rust.
Judge the first piece after 48 hours. Self-adhesive label faults do not show up at the press. Inspecting on application inspects nothing.
Keep paper off outdoor parts. Paper drinks water, film does not. Put that line in the quotation and half the after-sales argument disappears.
Stainless looks slick and is one of the harder surfaces to label: deep grain, oil film, fast heat transfer, wide temperature swings. Next time a label blisters, wipe a piece before changing a roll.
The surface-energy question is the same one plastic parts raise. See the site's note on PE surfaces, on labels that bubble after foil stamping and spot UV, and on sampling a roll where some labels hold and others lift.