

Why Labels Blister on Vacuum Packs, It Is Rarely the Glue
Vacuum and flexible packs have creases and curvature. Blistering and edge lift usually come from the surface, the roller pressure and the timing, not from weak adhesive.
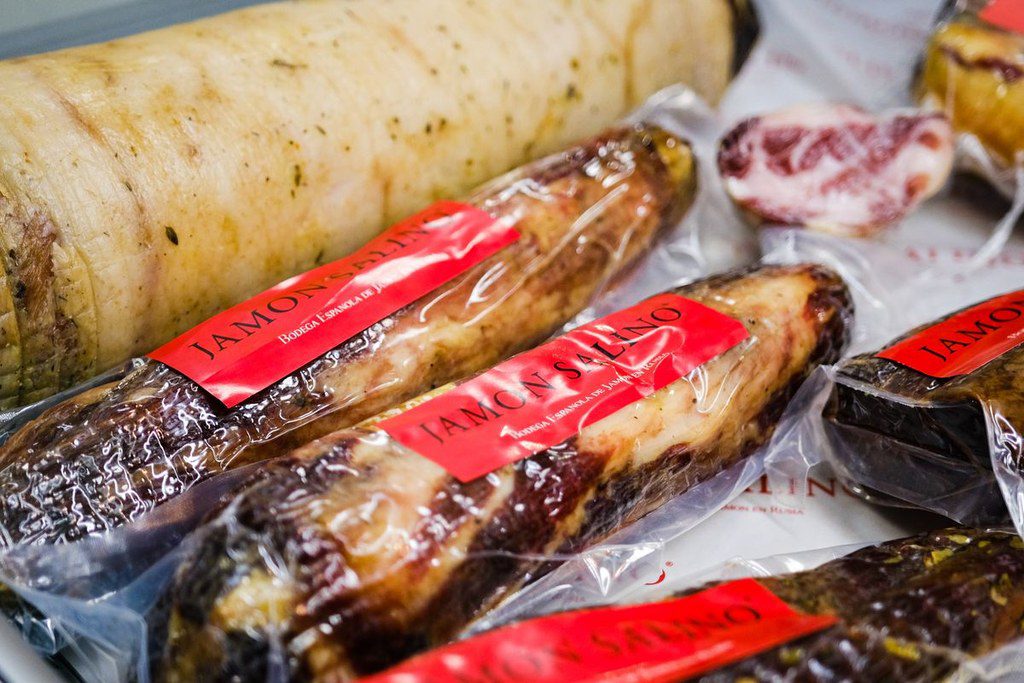
On vacuum packed meat, pickles or rice bricks, a label often looks flat from the front and shows a bubble at one corner or along one side. Press it and it goes down, release and it springs back. The first instinct is to blame the adhesive and ask for a stronger one. That usually makes things worse, because the label then tears the bag when it is removed. The cause tends to sit on the surface being labelled, not in the glue.
The surface is not flat to begin with
Once the air is drawn out, a vacuum bag is covered in fine creases and shaped by whatever is inside. The label is flat. Applied over creases, the adhesive touches only the ridges, air stays in the valleys, and that is the bubble. Apply immediately after sealing and the bag is still settling: residual air and stress relax over the next hours, the film shrinks slightly, and the label wrinkles with it. Let the pack stand until it stops springing back before labelling. The right interval depends on the bag and the contents, so test it rather than assume.
Pressure and peel angle matter more than tack
Hand application pushes from the middle outwards with uneven force, which drives air to the edge and traps it there. On a machine, insufficient roller pressure means the adhesive never fully wets the surface and only part of the initial tack is used. Flexible packs need a softer roller and a little more pressure so the label deforms with the film. Peel angle matters too: too steep and the label bends before it lands, arriving with a crease built in.
Adhesive choice does count, and the direction is softer rather than stronger. A soft adhesive flows into the fine creases, contacts more area and blisters less. A hard, high-tack adhesive that performs well on cartons and metal will not conform to a soft bag. Say so explicitly when specifying, because a request for better adhesion normally produces a harder, tackier product.
Dust, oil and condensation
Powdered goods leave dust on the outside of the bag, meat packs carry grease near the seal, and anything out of a chiller comes out wet. Each of these forms a release layer between adhesive and film. The label looks applied but is held at a few points. Wiping the area, or moving the label to a clean zone, fixes more cases than changing adhesive. Where water is unavoidable, use a water-tolerant adhesive; ordinary grades barely bond through a film of moisture.
Timing and placement
A pack straight off the filler is warmer than the room and still shedding heat, and a label applied to the warm side blisters. Keep away from gussets, seal lines and hard lumps of product, which are the areas that move most. Do not let the label cover the whole face either. Leaving a margin gives the film somewhere to move without dragging the label with it.
How to accept the result
Press the label down, check the edges after two hours, check again after a day in the chiller, then run a vibration or drop simulation and finally peel one label to inspect residue and film damage. Pass all of that and the specification is sound. On flexible packaging projects, ask for a sample of the actual bag and a video of the applicator in production. Roller geometry and peel angle decide the adhesive choice far more than a drawing does.
Keep a small record of failures too. A photograph of the bubble, the date, the line and the ambient temperature will tell you within a minute whether the cause is surface contamination, worn roller rubber or a bag that was labelled too soon. That file is more useful than another sample roll.