

Modified Atmosphere Trays and Ready Meals: What the Lid Label Must Survive
Three labels sit on a gas-flushed tray: lid, side and film band. Each meets condensation, low temperature or steam, and each needs a different facestock. Includes acceptance checks.
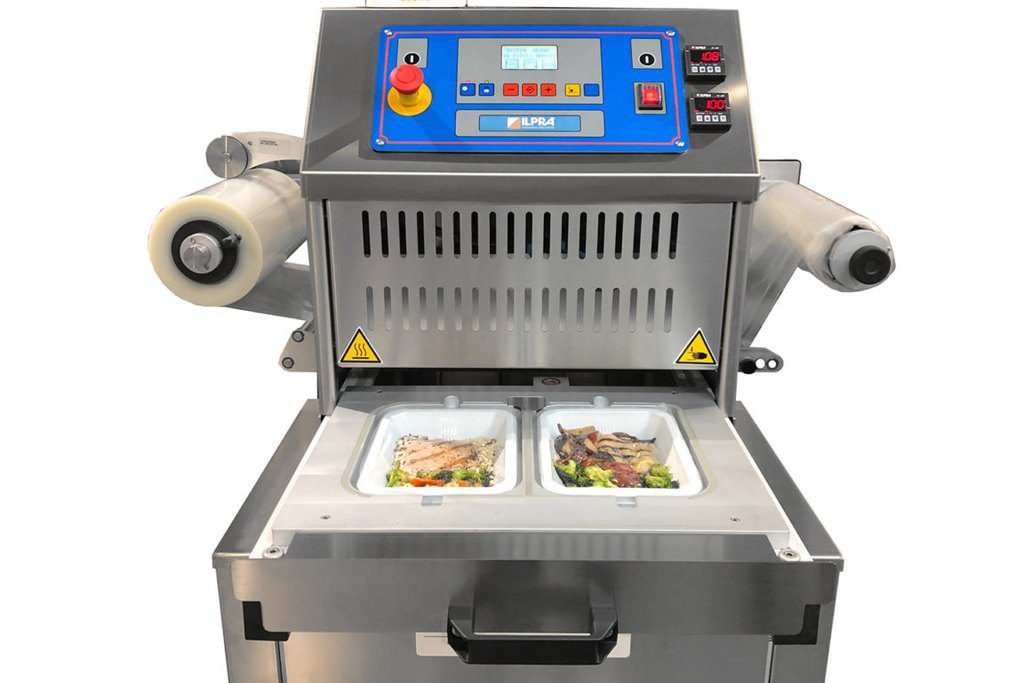
A fresh tray is flushed with gas and sealed under film, and ready meals now ship the same way. The lid, the side wall and the film band each carry a label, and that label travels further than a chilled product used to: cold room, truck, shelf, then a microwave at home. What waits on that route is condensation, cold and grease.
Three labels, three different loads
The same tray asks three different things of an adhesive label. The lid takes the print; the side wall has to follow a curve; the film band is narrow and carries only date and batch.
| Position | Usual facestock | Typical failure | Acceptance check |
|---|---|---|---|
| Lid face | Coated paper with matte laminate, 80-100 gsm | Beads of water after the cold room, print looks grey | Chill 24 hours, wipe, inspect ink |
| Side wall | White PE or PP synthetic, 60-80 micron | Edge lift on the curve | Press 10 seconds, check both ends |
| Film band | Thin thermal or PET, under 50 micron | Wrinkles, or the film edge rides over it | Run a finger along the film edge, feel for a step |
Thickness figures are the common range, not a specification. An 80 micron stock applied by hand and applied by a roller behave quite differently.
Condensation is harder than the cold
The widest temperature step is between the cold room and the shelf. A tray leaves 2-4 C and meets a 20 C aisle, and water films over within minutes. Water does not dissolve the ink. It swells the paper fibres, the edge ripples, then lifts.
Coated paper takes the worst of it. It absorbs quickly. The face grows, the adhesive is dragged along, and the lift starts where the water sat longest.
Synthetic stock or laminated paper holds up better, at roughly twenty percent more cost.
One detail gets missed: the label is dry when it goes on and fails overnight. That is why we ask customers to condition samples for 24 hours in the chiller before judging. A feel by hand at the machine proves nothing, and putting that step on the approval sheet saves a lot of argument later.
Ready meals add a reheating step
Chilled product only sees cold. A ready meal also sees a microwave or a water bath. The label sits on the lid, steam comes up through the film seam, the adhesive softens and the corners curl first.
Our usual advice is to pull the label 5 mm in from the film edge so steam does not hit the adhesive line directly. A PP synthetic with better heat resistance helps, or print date and batch straight onto the film and keep only brand and ingredients on the lid.
That 5 mm costs less than changing stock.
Ask how the product is heated. A microwave heats the whole pack; a water bath heats from the bottom, and the failure starts in a different place. One customer reported a corner lifting after boiling, and the adhesive had simply been soaked soft; the facestock was not the problem.
Copying a chilled layout invites rework
A chilled lid label is usually three blocks: brand, net weight, storage conditions. A ready meal adds ingredients, allergens, reheating instructions and, on some channels, a nutrition table. Information grows and type size shrinks. Below 5 pt, the press starts to lose it.
A practical fix is to turn reheating into an icon plus one line, put the ingredient block small in one corner, and stop crowding it against the selling copy. If the area still will not fit, move the detail behind a QR code and keep only the mandatory items on the lid.
Label area is bought by the square metre. Spend it on purpose.
Four checks before the run
- Measure three things on a real tray: lid face size, side-wall radius, film band width.
- Chill the sample for 24 hours at 2-4 C, wipe it dry, then look at edges and ink.
- Reheat once the way the customer will, 2 minutes in a microwave or 5 in water, and watch the corners.
- Scan the code with the reader on site, three times, not on a monitor.
Step 3 is the one people skip. Everything passes, then the corner lifts after reheating; we see seven or eight of those a year.
Common questions
Q1: Does a gas-flushed tray always need synthetic facestock?
A: No. With fast turnover and a dry aisle, laminated coated paper is enough. Where the pack crosses several temperature steps or sits on shelf beyond ten days, go synthetic. Count condensation events, not price.
Q2: Can an adhesive label go straight on the sealing film?
A: Yes, with a thin facestock under 50 micron, otherwise the film edge rides over it. Wipe the film dry first; PE has low surface energy, so choose an adhesive with a high initial tack.
Q3: How cold is too cold to apply a label?
A: Most adhesives lose noticeable tack below 5 C, and around 0 C the label will not sit down at all. Either label before the product enters the chiller, or use a cold-application adhesive; the two differ by 15-30 percent in material cost.
Q4: The printed date washes out under condensation. Is that the ink?
A: Check whether it is thermal paper first. Thermal coatings fade with water and abrasion; thermal transfer or a laminate fixes it. On a thermal transfer print, check ribbon grade against energy setting.